
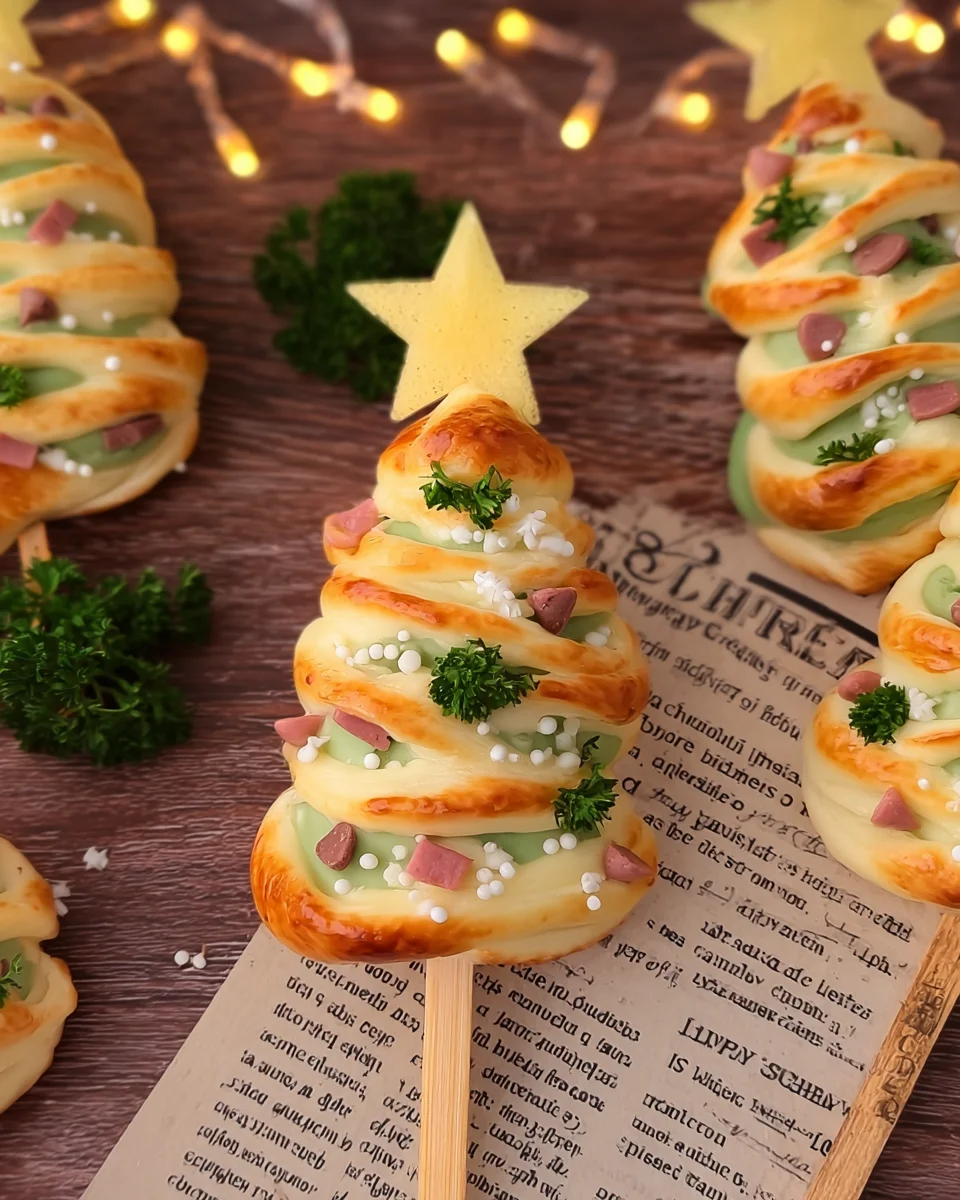
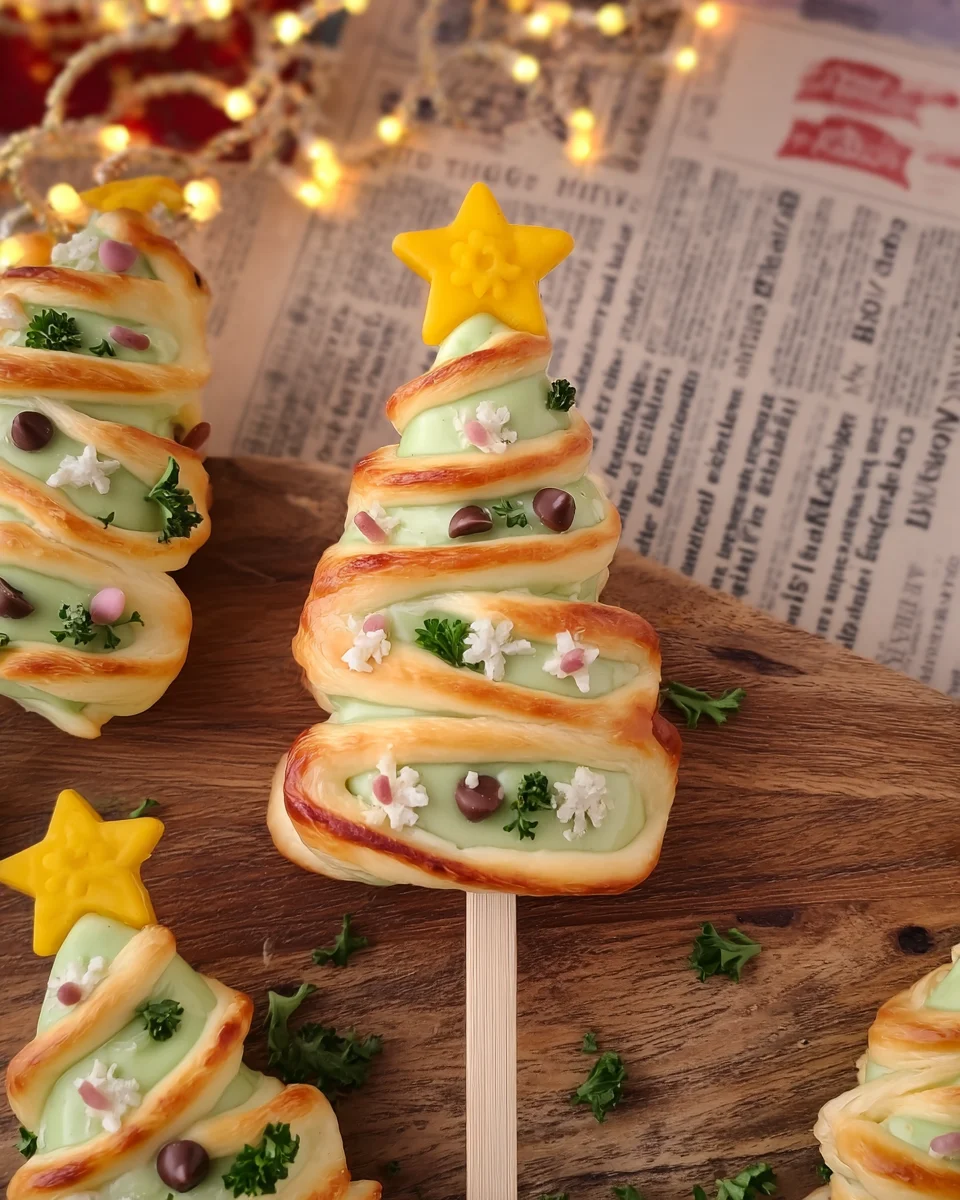
Quick Christmas Trees
Celebrate the festive season with Quick Christmas Trees! These charming treats combine sugar cones, melted chocolate, and colorful sprinkles to create delightful decorations for your holiday table. Perfect for gifting or simply enjoying with family, these easy-to-make trees are a fun activity for both kids and adults. Their vibrant colors and playful design make them a standout addition to any celebration.

Why You’ll Love This Recipe
- Simple Assembly: With minimal ingredients and straightforward steps, you’ll have these trees ready in no time.
- Versatile Decor: Customize your trees with various sprinkles and toppings to match any holiday theme or personal preference.
- Kid-Friendly Fun: This recipe is perfect for involving children in the kitchen, making it a great family bonding activity.
- Edible Decorations: Unlike traditional decorations, these trees can be enjoyed as delicious treats after the festivities.
- Impressive Presentation: The colorful design of Quick Christmas Trees makes them an eye-catching centerpiece for your holiday gathering.
Tools and Preparation
To create your Quick Christmas Trees efficiently, gather the necessary tools beforehand.
Essential Tools and Equipment
- Parchment paper
- Microwave-safe bowl
- Spoon or spatula
- Baking sheet
Importance of Each Tool
- Parchment paper: This helps with easy cleanup and prevents sticking while the trees cool.
- Microwave-safe bowl: Essential for melting candy melts without causing damage or burns.
- Spoon or spatula: Useful for mixing and coating the cones evenly with melted chocolate.
Ingredients
Gather these ingredients to bring your Quick Christmas Trees to life!
For the Trees
- 12 sugar cones
- 1 cup green candy melts
- 1 cup assorted sprinkles (colored, edible glitter, etc.)
For Decoration
- 1 cup mini chocolate chips (for ornaments)
- 12 small edible stars (for the tops)
Optional Snow Effect
- 1 tablespoon coconut flakes (optional, for snow effect)
How to Make Quick Christmas Trees
Step 1: Prepare Your Work Area
Set up your workspace by laying down parchment paper. This will make cleanup easier once you’re done creating your festive treats.
Step 2: Melt the Candy
In a microwave-safe bowl, melt the green candy melts according to package instructions. Stir until smooth to ensure an even coating on your sugar cones.
Step 3: Coat the Cones
Dip each sugar cone into the melted green candy. Swirl it around gently to coat evenly. Allow any excess candy to drip off before proceeding.
Step 4: Decorate
While the candy is still wet, sprinkle each coated cone with colorful sprinkles and mini chocolate chips. If you’d like a snowy effect, add coconut flakes at this stage too.
Step 5: Add the Star
Once decorated, gently press an edible star into the top of each cone. This adds a whimsical touch that completes your Christmas tree design.
Step 6: Set and Serve
Allow the trees to cool completely on the parchment paper until the candy coating hardens. Once set, arrange them on a serving platter or pack them in gift boxes. Enjoy your festive creations!
How to Serve Quick Christmas Trees
These delightful Quick Christmas Trees are perfect for any festive gathering. You can serve them in various creative ways to impress your guests and spread holiday cheer.
As a Festive Centerpiece
- Arrange the trees on a large platter as a stunning centerpiece for your holiday table. The vibrant colors will attract attention and set a joyful mood.
Gift Boxes
- Pack individual trees in small gift boxes or treat bags. Tie them with festive ribbons for a charming homemade gift that friends and family will love.
Dessert Buffet
- Include the trees in a dessert buffet alongside other sweets. They add variety and visual appeal, making your dessert table more enticing.
Kids’ Holiday Party
- Serve these fun treats at a kids’ holiday party. Their colorful design makes them appealing to children, and they can even help decorate their own trees!
Holiday Movie Night
- Enjoy Quick Christmas Trees during a cozy movie night with family. They make great snacks while watching your favorite holiday films.
How to Perfect Quick Christmas Trees
To ensure your Quick Christmas Trees turn out perfectly, follow these helpful tips.
- Use Quality Candy Melts: Choose high-quality green candy melts for better flavor and smooth melting. This will enhance the taste of your trees.
- Work Quickly: After coating the cones, decorate them quickly before the chocolate hardens. This ensures that all toppings stick well and look great.
- Experiment with Sprinkles: Get creative with different types of sprinkles and edible decorations. This adds personality to each tree and makes them unique.
- Add Flavorful Toppings: Consider adding mini marshmallows or nuts as additional toppings for extra flavor and texture. This can elevate the overall experience.
- Store Properly: Keep your decorated trees in an airtight container at room temperature to maintain freshness for longer. Avoid refrigeration as it may cause the candy to sweat.

Best Side Dishes for Quick Christmas Trees
To complement your Quick Christmas Trees, consider serving them alongside these tasty side dishes that will enhance your festive spread.
- Cheesy Garlic Bread: A warm, buttery loaf topped with garlic and melted cheese pairs wonderfully with sweet treats.
- Crispy Veggie Platter: Fresh vegetables served with a creamy dip provide a refreshing contrast to the sugary trees.
- Fruit Salad: A light fruit salad offers a healthy option, balancing out the sweetness of the cookies.
- Mini Quiches: These savory bites are easy to make and add a savory element that complements dessert beautifully.
- Stuffed Mushrooms: Flavorful stuffed mushrooms bring a savory depth that contrasts nicely with sweet desserts.
- Holiday Punch: A festive drink like cranberry punch adds a cheerful touch, perfect for sipping alongside treats.
- Roasted Nuts: Spiced or sweet roasted nuts make excellent finger food that pairs well with both sweet and savory options.
- Caprese Skewers: These simple skewers of mozzarella, tomatoes, and basil offer fresh flavors that work well with dessert items.
Common Mistakes to Avoid
When making Quick Christmas Trees, there are a few common mistakes that can lead to less-than-perfect results. Here are some pitfalls to watch out for:
- Not prepping the workspace: Forgetting to set up with parchment paper can make cleanup a hassle. Always prepare your area for easy handling.
- Overheating the candy melts: Melting candy too long can cause it to seize. Follow the package instructions closely and stir until smooth.
- Skipping the sprinkles: If you wait too long to add decorations, the candy coating will harden. Decorate immediately after coating the cones for best results.
- Using stale ingredients: Old sprinkles or chocolate can affect taste and appearance. Always check your ingredients before starting.
- Neglecting cooling time: Trying to move or serve the trees too soon can result in a mess. Allow them to cool completely on parchment paper.
Refrigerator Storage
- Store in an airtight container for up to 5 days.
- Keep in a cool place away from direct sunlight.
Freezing Quick Christmas Trees
- You can freeze these treats for up to 2 months.
- Place them in a freezer-safe container, separating layers with parchment paper.
Reheating Quick Christmas Trees
- Oven: Preheat to 300°F (150°C) for about 5 minutes; this may soften them slightly but is not recommended for decorated trees.
- Microwave: Heat on low power for no more than 10 seconds if you need a softer texture; be cautious not to melt the chocolate decor.
- Stovetop: Not recommended for these treats as they may lose their structure and decoration.
Frequently Asked Questions
Can I use different colors of candy melts for Quick Christmas Trees?
Yes, feel free to mix and match colors! This adds a unique touch and makes your trees stand out.
How do I make Quick Christmas Trees more festive?
You can personalize them using themed sprinkles or edible glitter. This makes them perfect for holiday celebrations!
How long do Quick Christmas Trees last?
When stored properly, these treats can last up to 5 days in the refrigerator and about 2 months in the freezer.
Are Quick Christmas Trees suitable for kids?
Absolutely! These festive treats are fun and safe for kids, making them ideal for family activities during the holidays.
Can I include other toppings on my Quick Christmas Trees?
Certainly! Mini marshmallows or chopped nuts can be great additions, allowing you to customize each tree according to your taste.
Final Thoughts
Quick Christmas Trees are not only delightful but also versatile. They bring joy and creativity into your holiday celebrations, making them ideal for both gifting and sharing at festivities. Feel free to customize your trees with various toppings and colors to suit any occasion!

Quick Christmas Trees
- Total Time: 20 minutes
- Yield: Makes 12 trees 1x
Description
Celebrate the holiday season with Quick Christmas Trees, a charming and colorful treat that brings festive cheer to your table. These delightful edible decorations are made from simple ingredients: sugar cones coated in melted chocolate and adorned with vibrant sprinkles. Not only are they a fun project for the whole family, but they also double as tasty treats after the festivities. With their playful design, these trees will be a highlight of your holiday gatherings—perfect for gifting or enjoying during cozy movie nights.
Ingredients
- 12 sugar cones
- 1 cup green candy melts
- 1 cup assorted sprinkles
- 1 cup mini chocolate chips (for ornaments)
- 12 small edible stars (for the tops)
- 1 tablespoon coconut flakes (optional, for snow effect)
Instructions
- Prepare your workspace by laying down parchment paper.
- Melt green candy melts in a microwave-safe bowl until smooth.
- Dip each sugar cone into the melted chocolate, allowing excess to drip off.
- While still wet, coat the cones with sprinkles and mini chocolate chips.
- Press an edible star onto the top of each tree.
- Let cool on parchment paper until set.
- Prep Time: 15 minutes
- Cook Time: 5 minutes
- Category: Dessert
- Method: No-Bake
- Cuisine: American
Nutrition
- Serving Size: 1 serving
- Calories: 150
- Sugar: 12g
- Sodium: 30mg
- Fat: 6g
- Saturated Fat: 4g
- Unsaturated Fat: 2g
- Trans Fat: 0g
- Carbohydrates: 21g
- Fiber: <1g
- Protein: 1g
- Cholesterol: 0mg