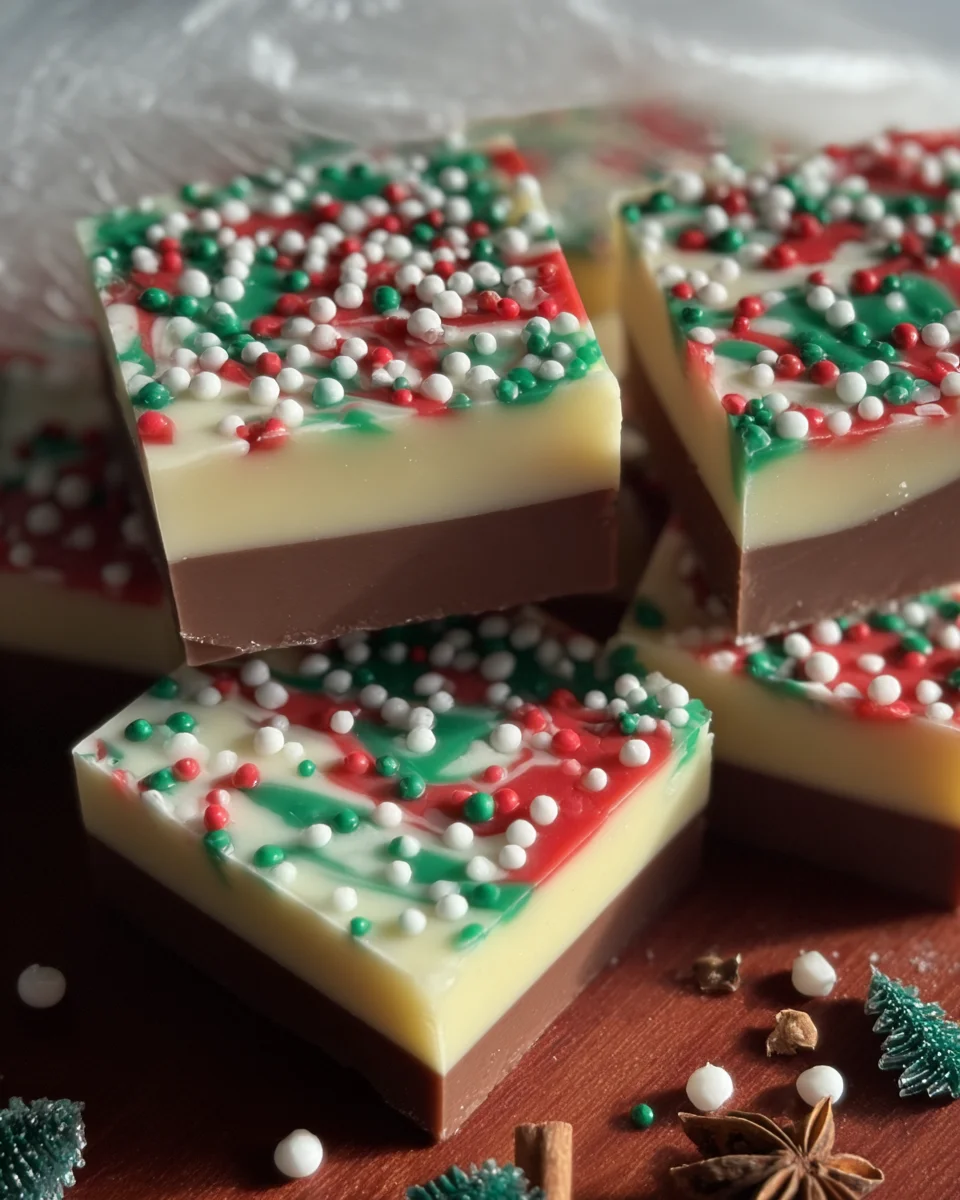
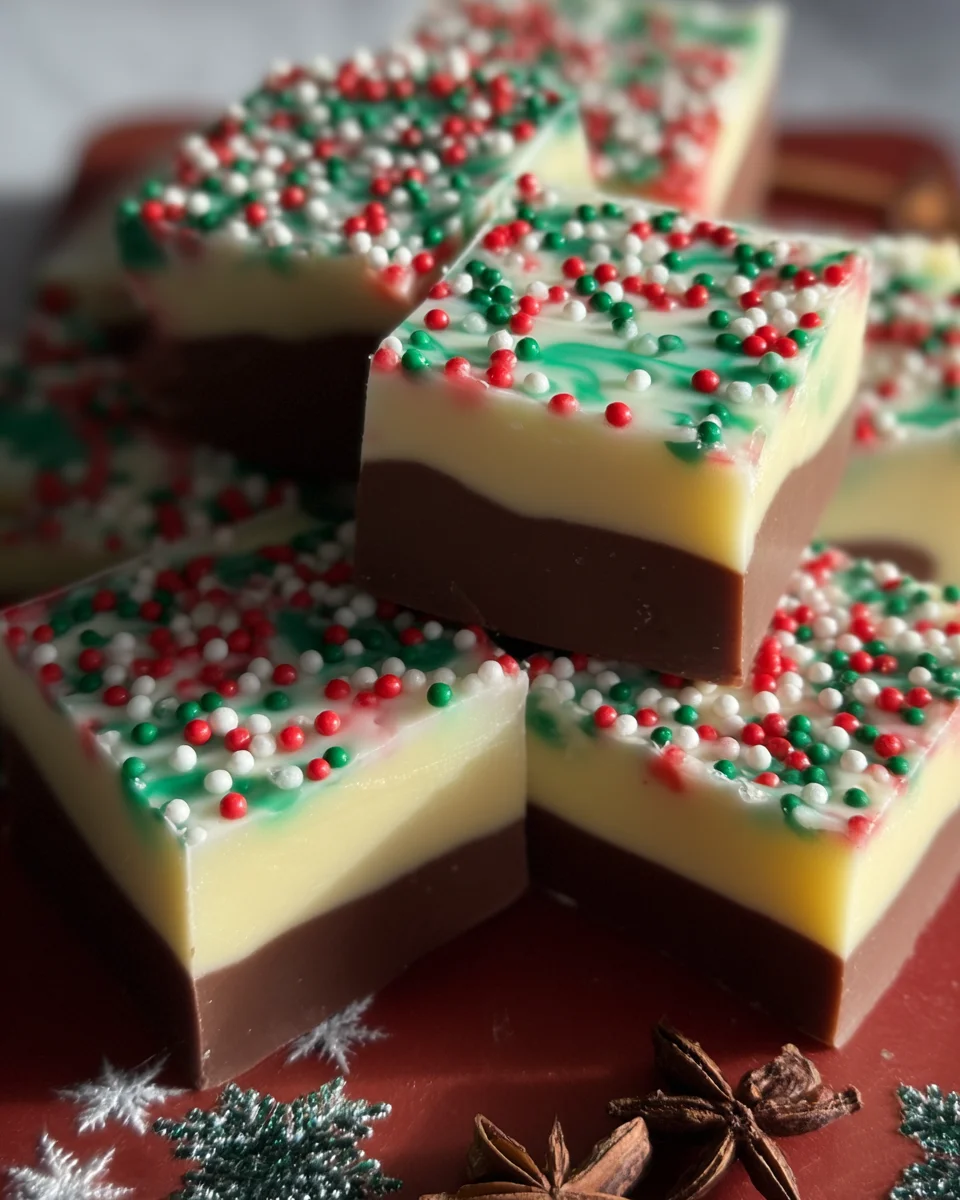
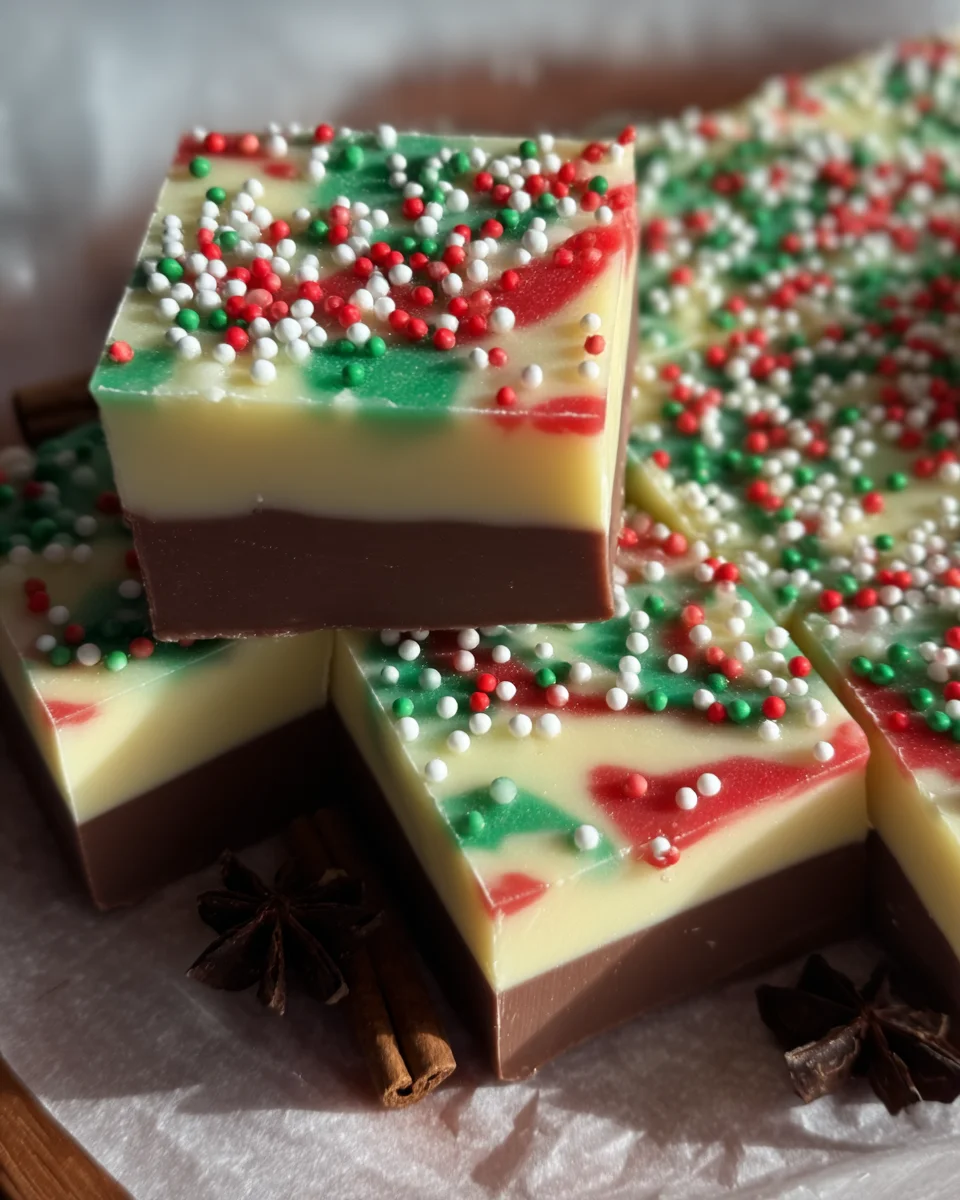
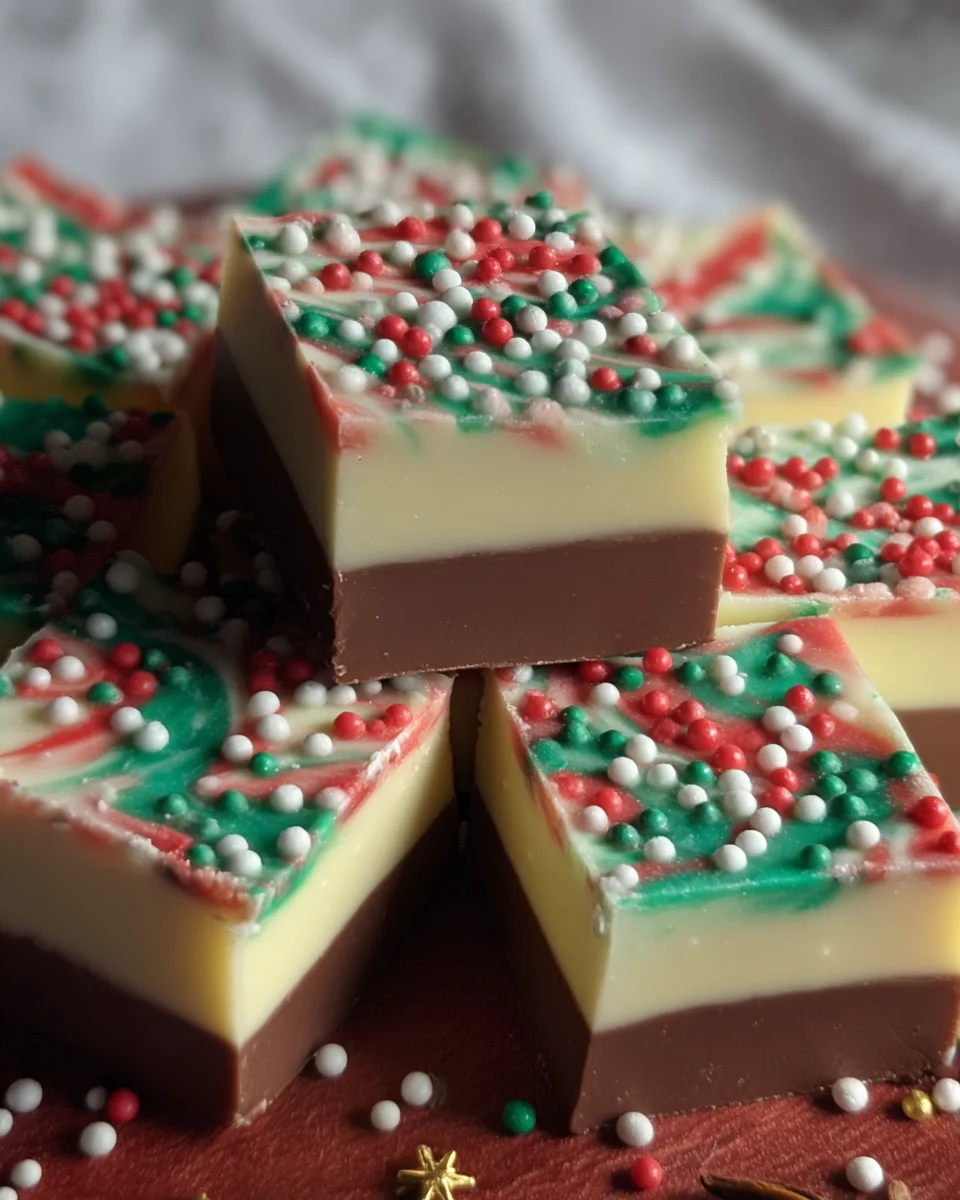
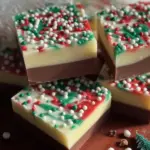
Layered Christmas Fudge
Delight in the festive spirit with Layered Christmas Fudge! This colorful treat combines creamy layers of chocolate and vanilla fudge, making it perfect for holiday gatherings, gift-giving, or simply indulging in seasonal cheer. The swirls of vibrant colors and sprinkles will brighten any occasion, bringing smiles to friends and family alike.
Why You’ll Love This Recipe
- Easy to Make: With just a few simple steps, you can whip up this delicious fudge without much hassle.
- Festive Appeal: The vibrant layers and sprinkles make this dessert an eye-catching centerpiece for your holiday table.
- Versatile Flavors: You can customize the fudge with different extracts or colors to suit your taste or theme.
- No-Bake Delight: This recipe requires minimal cooking time and no baking, making it a quick addition to your holiday treats.
- Perfect for Gifting: Packaged beautifully, this fudge makes a thoughtful gift for friends, neighbors, or holiday parties.
Tools and Preparation
Before you start making your Layered Christmas Fudge, ensure you have the right tools ready. Having everything at hand will make the process smooth and enjoyable.
Essential Tools and Equipment
- Medium saucepan
- 8×8-inch pan
- Mixing bowls
- Whisk or spatula
- Knife
Importance of Each Tool
- Medium saucepan: Ideal for melting chocolate evenly without burning.
- 8×8-inch pan: Perfect size for setting the layers of fudge; ensures even thickness.
- Mixing bowls: Necessary for dividing ingredients and mixing colors effectively.
- Whisk or spatula: Helps achieve a smooth consistency when mixing ingredients.
Ingredients
For the Chocolate Layer
- 2 cups semisweet chocolate chips
- 1 can (14 ounces) sweetened condensed milk
- 1 teaspoon vanilla extract
For the White Chocolate Layer
- 2 cups white chocolate chips
- 2 tablespoons unsalted butter
- 1 teaspoon peppermint extract (optional)
For Coloring and Topping
- Food coloring (red and green)
- ½ cup holiday sprinkles
How to Make Layered Christmas Fudge
Step 1: Prepare the Chocolate Layer
In a medium saucepan, combine the semisweet chocolate chips with 1 cup of sweetened condensed milk. Cook over low heat while stirring constantly until melted and smooth. Stir in the vanilla extract once fully melted.
Step 2: Layer the Chocolate Fudge
Pour the prepared chocolate fudge into a greased 8×8-inch pan. Spread it evenly across the base. Place in the refrigerator to set for about 30 minutes.
Step 3: Prepare the White Chocolate Layer
In another saucepan, combine white chocolate chips with the remaining sweetened condensed milk and butter. Cook over low heat while stirring until melted and smooth. If using peppermint extract, add it now.
Step 4: Color the White Chocolate
Divide the white chocolate mixture into two separate bowls. Add a few drops of red food coloring to one bowl and green food coloring to another. Stir until you achieve your desired colors.
Step 5: Layer the White Chocolate Fudge
Once your chocolate layer is set, alternately spoon red and green white chocolate fudge over it. Use a knife to gently swirl these colors together for a marbled effect. Finally, sprinkle holiday sprinkles on top for added festivity.
Step 6: Chill and Serve
Refrigerate your layered fudge for at least 2 hours or until it is fully set. Once set, remove from the pan and cut into squares. Enjoy your delightful festive treat!
How to Serve Layered Christmas Fudge
Layered Christmas Fudge is not just a treat; it’s a celebration of flavors and colors! Whether you’re hosting a holiday gathering or gifting them to friends, here are some delightful serving suggestions.
Share with Friends
- Gift Boxes: Cut the fudge into squares and package them in festive boxes for a thoughtful gift.
- Holiday Platters: Arrange the fudge on a colorful platter alongside other holiday treats for an impressive dessert table.
Pair with Beverages
- Hot Chocolate: Serve your fudge with warm mugs of hot chocolate for a cozy pairing.
- Coffee or Tea: Enjoy the sweet contrast of rich fudge with a cup of coffee or herbal tea.
Add Decorative Touches
- Christmas Plates: Present your fudge on themed holiday plates to enhance the festive spirit.
- Sprinkle Toppings: Top each piece with extra holiday sprinkles for added color and fun.
How to Perfect Layered Christmas Fudge
Creating the perfect Layered Christmas Fudge is all about technique and attention to detail. Follow these helpful tips for delicious results!
- Chill Thoroughly: Make sure to refrigerate each layer until fully set before adding the next. This keeps the layers distinct.
- Use Quality Chocolate: Opt for high-quality chocolate chips for a richer flavor in both the chocolate and white layers.
- Swirl Gently: When creating marbling, use a knife gently to avoid mixing too much; you want beautiful swirls!
- Choose Festive Colors: Don’t be afraid to experiment with different food coloring shades for a unique twist on traditional colors.
- Store Properly: Keep your fudge in an airtight container at room temperature or in the fridge to maintain freshness.
- Cut Evenly: Use a sharp knife warmed slightly under hot water for clean cuts when slicing your fudge.
Best Side Dishes for Layered Christmas Fudge
Layered Christmas Fudge pairs wonderfully with various side dishes that complement its rich sweetness. Here are some great options:
- Cheese Platter: A selection of cheeses balances out the sweetness of the fudge.
- Fruit Salad: Fresh fruits add brightness and acidity, enhancing your dessert experience.
- Nut Mixes: Roasted nuts provide crunch and contrast to the soft texture of the fudge.
- Mini Pastries: Serve bite-sized pastries that offer different flavors and textures alongside your fudge.
- Marshmallow Treats: Sweet marshmallow bars can create an indulgent dessert spread when served together.
- Gingerbread Cookies: The spiced flavor of gingerbread complements the festive essence of layered fudge beautifully.
Common Mistakes to Avoid
Making Layered Christmas Fudge can be simple, but a few common mistakes can affect your results. Here are some pitfalls to watch out for:
- Using cold ingredients: Cold ingredients can cause the fudge to seize or not melt properly. Always ensure your ingredients are at room temperature before starting.
- Not greasing the pan: Fudge can stick to the pan, making it difficult to remove. Grease your pan generously to ensure easy lifting of your delicious fudge.
- Overheating the chocolate: Too much heat can burn chocolate, ruining its texture and flavor. Melt chocolate over low heat and stir constantly to keep it smooth.
- Skipping the chilling step: Allowing the fudge to set properly is crucial for the right texture. Don’t rush; chill it for at least 2 hours before cutting.
- Not measuring precisely: Accurate measurements are key in fudge recipes. Use measuring cups and spoons for consistent results every time.
- Forgetting to swirl: The visual appeal comes from swirling the colors together. Don’t skip this step; use a knife to create beautiful marbled effects!
Refrigerator Storage
- Store your Layered Christmas Fudge in an airtight container.
- It will last up to 1 week in the refrigerator.
- Keep it away from strong-smelling foods to maintain its flavor.
Freezing Layered Christmas Fudge
- Wrap individual squares tightly in plastic wrap or foil.
- Place them in a freezer-safe container or bag.
- You can freeze for up to 3 months without losing quality.
Reheating Layered Christmas Fudge
- Oven: Preheat your oven to 350°F (175°C). Place fudge squares on a baking sheet and warm for about 5-10 minutes until soft.
- Microwave: Heat fudge squares on a microwave-safe plate for 10-15 seconds at a time until softened. Be careful not to overheat!
- Stovetop: Use a double boiler, stirring gently until just warm, ensuring you don’t melt completely.
Frequently Asked Questions
What makes Layered Christmas Fudge special?
Layered Christmas Fudge stands out due to its colorful layers and festive flavors that capture the essence of holiday cheer. It’s a delightful treat that everyone loves!
Can I customize my Layered Christmas Fudge?
Absolutely! You can add nuts, different extracts, or even swap colors based on your preference. Get creative with toppings like crushed candy canes or nuts!
How do I cut Layered Christmas Fudge perfectly?
To achieve clean cuts, use a sharp knife dipped in hot water. Wipe it dry between cuts for neat slices without crumbling.
Is there a way to make this fudge healthier?
You can substitute chocolate chips with dark chocolate and use less sweetened condensed milk by opting for unsweetened versions or alternatives like coconut milk.
Final Thoughts
Layered Christmas Fudge is an irresistible treat that combines rich flavors and stunning visuals, perfect for any holiday gathering or as thoughtful gifts. Feel free to customize it with your favorite flavors or toppings for added fun! Enjoy making this festive delight with family and friends!
Layered Christmas Fudge
- Total Time: 35 minutes
- Yield: Approximately 16 servings 1x
Description
Delight your holiday celebrations with Layered Christmas Fudge, a vibrant and delicious treat that combines creamy chocolate and vanilla layers. This no-bake dessert is perfect for gifting, sharing at festive gatherings, or indulging in seasonal sweetness. With its colorful swirls and festive sprinkles, this fudge not only tastes amazing but also serves as an eye-catching centerpiece for any holiday table. Easy to make and customizable, you can experiment with flavors and colors to match your festive theme. Whether enjoyed with friends or given as thoughtful gifts, Layered Christmas Fudge is sure to bring smiles and joy during the holidays.
Ingredients
- 2 cups semisweet chocolate chips
- 1 can (14 ounces) sweetened condensed milk
- 1 teaspoon vanilla extract
- 2 cups white chocolate chips
- 2 tablespoons unsalted butter
- Food coloring (red and green)
- ½ cup holiday sprinkles
Instructions
- In a medium saucepan, melt semisweet chocolate chips with 1 cup of sweetened condensed milk over low heat until smooth. Stir in vanilla extract.
- Pour the chocolate mixture into a greased 8×8-inch pan and refrigerate for 30 minutes.
- In another saucepan, melt white chocolate chips with remaining sweetened condensed milk and butter over low heat until smooth; add peppermint extract if desired.
- Divide the white mixture into two bowls; color one red and the other green with food coloring.
- Spoon alternating dollops of colored white chocolate on top of the set chocolate layer and swirl gently with a knife. Top with holiday sprinkles.
- Refrigerate for at least 2 hours until fully set, then cut into squares.
- Prep Time: 20 minutes
- Cook Time: 15 minutes
- Category: Dessert
- Method: No-Bake
- Cuisine: American
Nutrition
- Serving Size: 1 serving
- Calories: 140
- Sugar: 16g
- Sodium: 25mg
- Fat: 7g
- Saturated Fat: 4g
- Unsaturated Fat: 2g
- Trans Fat: 0g
- Carbohydrates: 17g
- Fiber: 0g
- Protein: 1g
- Cholesterol: 5mg